
As an Amazon Associate, we earn from qualifying purchases. This helps support the site at no extra cost to you.
Quick Answer: Setting up dual monitors for home office takes about 30 minutes and requires a monitor mount or stand, the right cables, and a quick settings adjustment in Windows or Mac. The VIVO Dual Monitor Mount ($34.99) is the best budget stand, while the HUANUO TitanLift Monitor Arm ($89.97) handles ultrawide and heavy screens. Here’s the complete step-by-step guide.
Studies consistently show that dual monitors increase productivity by 20-50% for most office tasks. Copy-paste between windows, reference documents while writing, keep email open while working — the benefits are immediate and obvious once you make the switch. The setup is easier than most people think. Here’s everything you need.
What You Need for a Dual Monitor Setup
Hardware checklist
- Two monitors (or one additional monitor to add to your laptop)
- A monitor stand or dual monitor arm
- The right cables (HDMI, DisplayPort, or USB-C — check your ports)
- A computer with two video outputs (most modern laptops and desktops have this)
- Optional: cable management clips for a clean look
Step 1 — Choose Your Monitor Mount
The mount determines how your monitors sit and how much desk space you reclaim. Two main options: a dual monitor stand (sits on your desk) or dual monitor arms (clamps to desk edge, frees up the most space).
Option A: VIVO Dual Monitor Desk Mount — Best Budget Stand
Price: $34.99 | Check price on Amazon →

The VIVO dual mount holds two screens up to 30 inches and 22 lbs each — covering virtually every standard monitor size. It uses a C-clamp OR grommet mount (both included), so it works on desks with or without a grommet hole. Fully adjustable: tilt, swivel, and rotation for each arm independently. At $34.99 it’s the best-value dual monitor solution available.
- ✅ Holds two monitors up to 30″ and 22 lbs each
- ✅ C-clamp and grommet both included
- ✅ Full adjustment — tilt, swivel, rotate per screen
- ✅ Best price for dual monitor support at $34.99
- ❌ Not ideal for ultrawide monitors over 30″
- ❌ Heavy monitors at max weight may cause slight droop over time
Option B: HUANUO TitanLift Monitor Arm — Best for Large & Ultrawide Screens
Price: $89.97 (15% off) | Check price on Amazon →
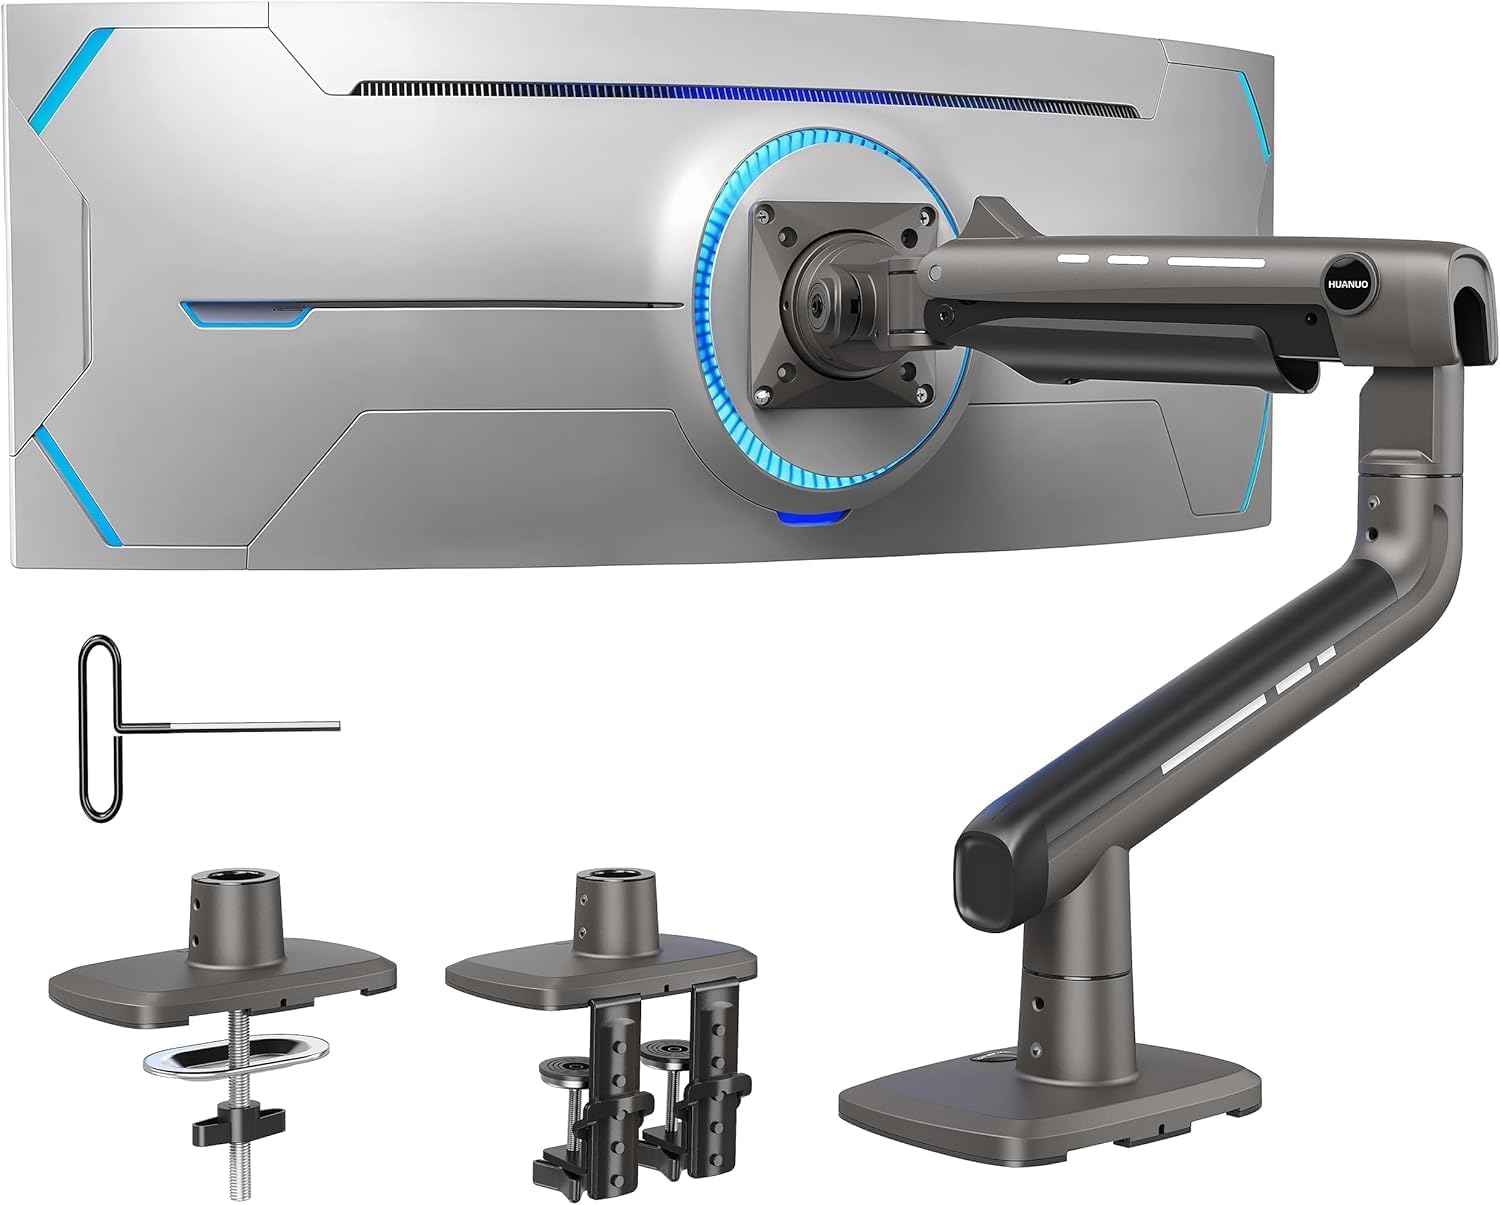
If you’re running an ultrawide monitor (up to 49″) or a heavy screen (up to 44 lbs), the HUANUO TitanLift is the arm you need. The aluminum construction handles weight that would make cheaper arms droop or fail. Fully adjustable with dual C-clamp for maximum stability. Currently 15% off at $89.97 — worth it for anyone with a premium monitor setup.
- ✅ Supports screens up to 49″ and 44 lbs
- ✅ Aluminum build — premium durability
- ✅ Perfect for ultrawide monitors
- ✅ Currently 15% off
- ❌ Higher price at $89.97
- ❌ Overkill for standard 27″ monitors
Step 2 — Connect Your Monitors
Check the output ports on your computer and the input ports on your monitors. Common connections: HDMI (most common), DisplayPort (better for high refresh rates), and USB-C (modern laptops). Most monitors include one cable — you’ll likely need to buy a second for the additional screen. Match the port types: if your laptop has one HDMI and one USB-C, you’ll need one HDMI cable and one USB-C to HDMI adapter.
Tip: If your laptop only has one video output, a USB-C hub with HDMI output solves the problem. Check out our 5 Best USB-C Hubs for Home Office for the best options.
Step 3 — Mount Your Monitors
Attach the VESA mount plate to the back of each monitor (most monitors have a 75x75mm or 100x100mm VESA pattern — check your monitor’s manual). Attach the mount arms to the desk clamp, then attach each monitor to its arm. Adjust height so the top of the screen is at or slightly below eye level — this is critical for neck and posture health during long work sessions.
Step 4 — Configure Display Settings
Windows 10/11
- Right-click desktop → Display Settings
- Both monitors should appear as rectangles — drag to match their physical position on your desk
- Under “Multiple displays” select “Extend these displays”
- Set your primary monitor (the one where your taskbar will live)
- Adjust resolution and scale per monitor if needed
Mac
- Apple menu → System Settings → Displays
- Drag monitor icons to match physical layout
- Select “Use as extended display”
- Set the primary display by dragging the white menu bar to your preferred screen
Step 5 — Manage Your Cables
Two monitors mean more cables — and cable clutter kills the look of any setup. The JOYROOM cable clips are the easiest solution: adhesive-backed magnetic clips that stick under your desk and route cables cleanly out of sight.
JOYROOM Cable Management Clips (9-Pack) — $8.11 (27% off) | Check price on Amazon →
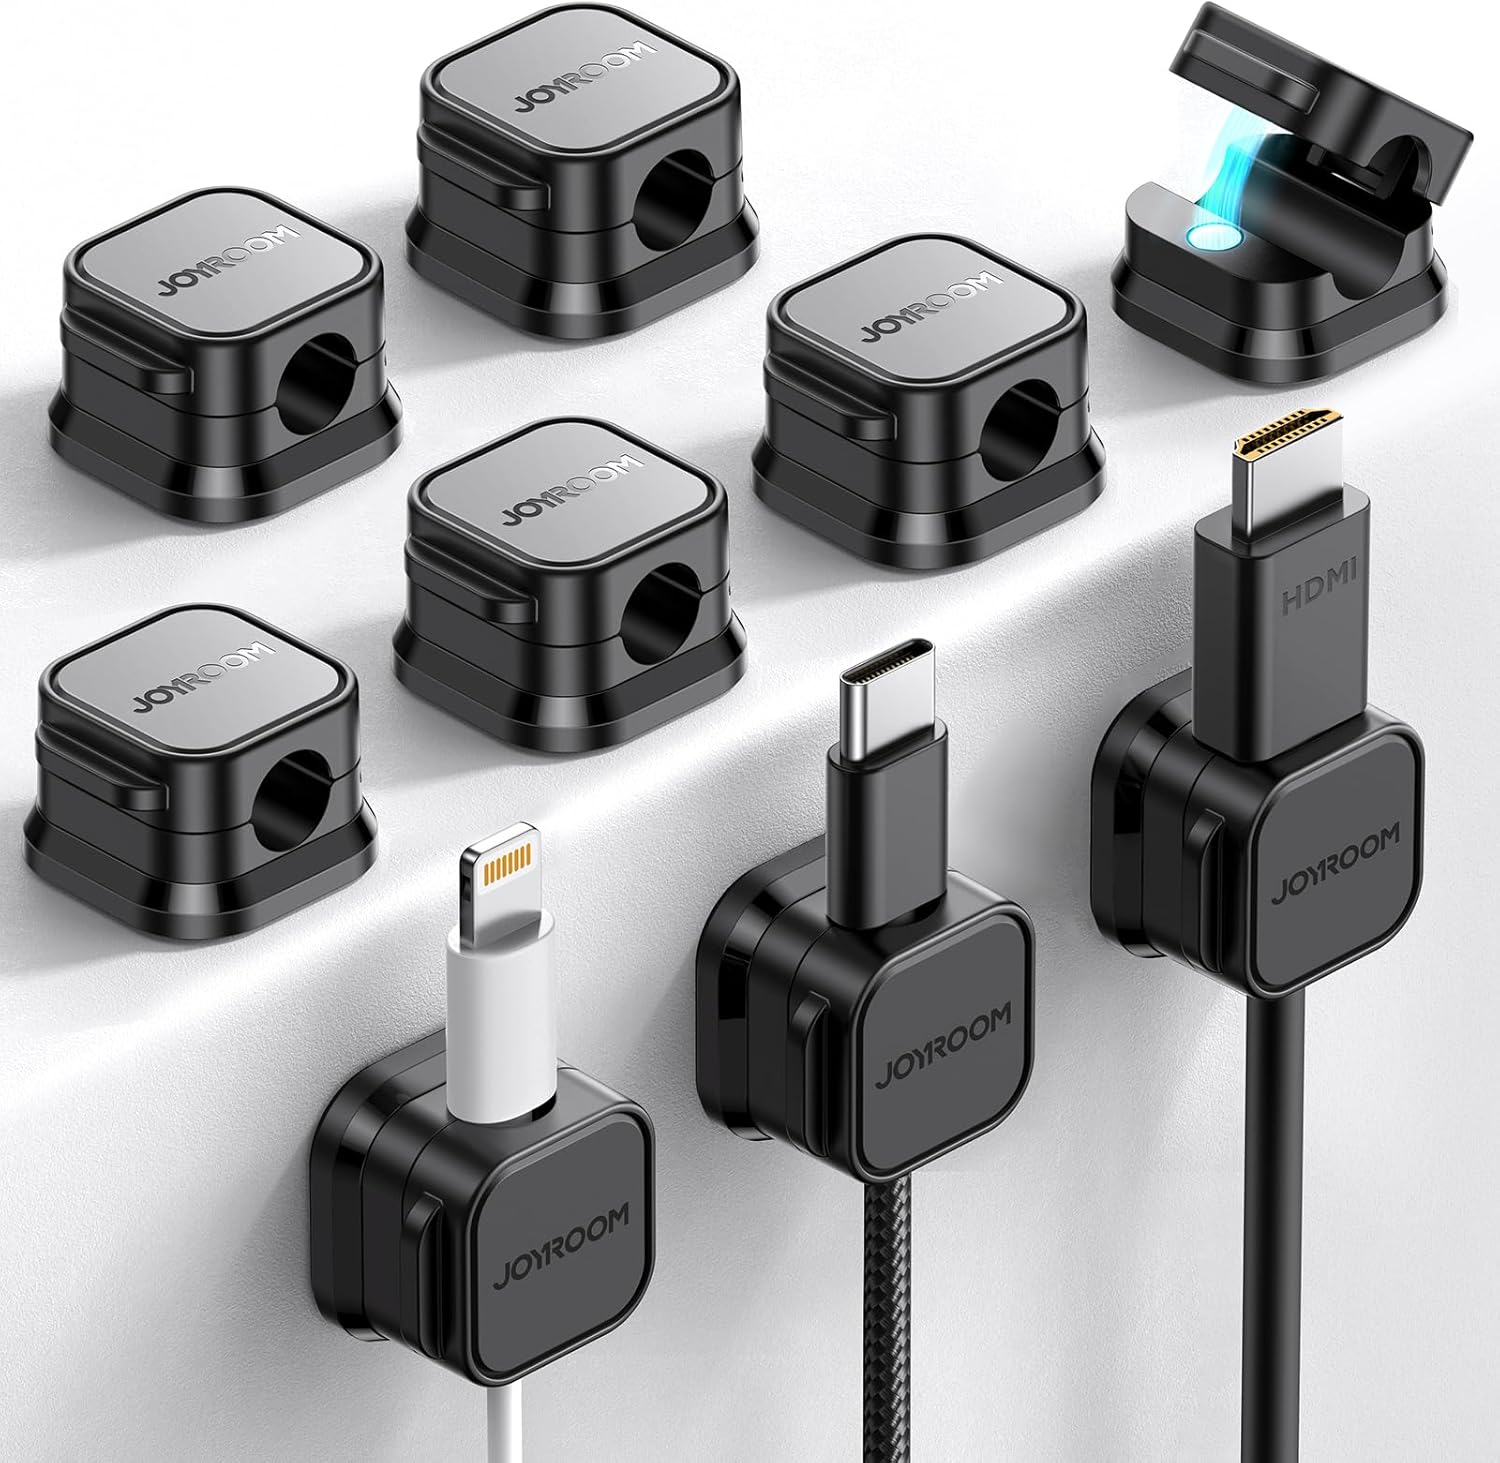
Stick them under the desk edge, route your monitor cables, USB cables, and power cables through them — done. The magnetic design lets you add or remove cables without unclipping. At $8.11 for 9 clips, it’s a minimal investment that makes a huge visual difference.
Best Monitor Layout for Home Office
Side by side (most common)
Place both monitors directly in front of you at equal height. Center the gap between them at your natural eye line. Best for tasks where you constantly reference both screens equally — coding, trading, video editing.
Primary + secondary (most ergonomic)
Place your main monitor directly in front, secondary monitor to the left or right at a slight angle. Best for most home office workers — you work primarily on one screen and reference the second for email, Slack, or documents.
Stacked vertically
Primary monitor at eye level, secondary mounted above. Less common but excellent for coders who need to see long files — stack your editor on top, terminal below, or vice versa.
Frequently Asked Questions
Does my laptop support dual monitors?
Most modern laptops support at least one external monitor via HDMI or USB-C. Supporting two external monitors simultaneously depends on your GPU and ports. MacBooks with M1/M2/M3 chips officially support one external display unless you use a specific dock or DisplayLink adapter. Check your laptop’s specs or manufacturer page to confirm.
Do both monitors need to be the same size?
No — mixed sizes work fine. Many people pair a 27″ primary with a 24″ secondary. The main adjustment is matching heights using monitor arms so the top edges are level, which reduces neck strain from looking up and down constantly.
Can I use a TV as a second monitor?
Yes — any HDMI TV works as a monitor. The trade-off is pixel density: a 40″ 1080p TV has lower PPI than a 27″ 1080p monitor, making text look fuzzy up close. Fine for media consumption, not ideal for focused work. If you go this route, use a 4K TV and sit at normal monitor distance.
How much desk space do I need for dual monitors?
Two 27″ monitors side by side need approximately 50-55 inches of linear desk space. A 48″ or 55″ desk works. If desk space is tight, a dual monitor arm like the VIVO mount elevates both screens and frees the desk surface underneath — actually increasing usable workspace despite adding a second screen.
Final Verdict
A dual monitor setup is one of the best investments you can make for home office productivity. The VIVO Dual Monitor Mount ($34.99) handles most standard setups at an unbeatable price. If you have an ultrawide or heavy monitor, invest in the HUANUO TitanLift ($89.97). Finish the setup with the JOYROOM Cable Clips ($8.11) for a clean, professional look.